How to Polish Your Car Like a Professional: Step-by-Step Guide
Polishing your car isn't just about making it look good—it's about preserving its value and protecting the paint from everyday wear and tear. Whether you're dealing with swirl marks from automatic car washes, light scratches from road debris, or just want that fresh-out-of-the-showroom shine, learning to polish like a pro can save you money and give you a sense of accomplishment. In this guide, we'll walk you through the process step by step, from gathering the right tools to applying the final protective layer. By the end, you'll have the knowledge to tackle your car's exterior with confidence.
Why Polish Your Car?
A well-polished car does more than turn heads; it extends the life of your paint job. Over time, environmental factors like UV rays, bird droppings, tree sap, and even improper washing can dull the finish and create imperfections. Polishing removes a thin layer of oxidized clear coat, eliminating minor scratches and swirls while restoring vibrancy.
Unlike waxing, which adds a temporary protective sheen, polishing is a corrective process. It's ideal for cars that haven't been detailed in a while or those exposed to harsh conditions. Regular polishing—once or twice a year—can prevent deeper damage, making touch-ups easier and keeping resale value high. Plus, it's a satisfying DIY project that doesn't require a professional shop.
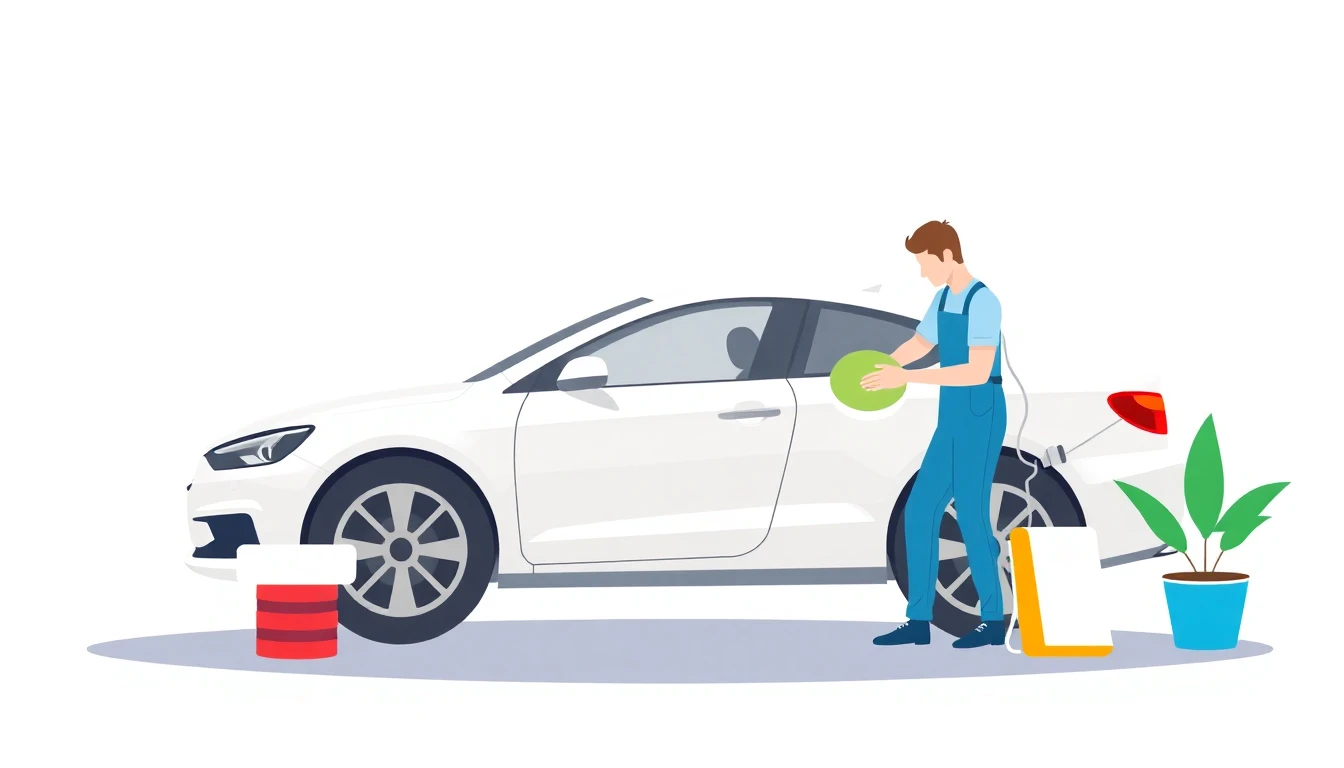
Essential Tools and Supplies for Professional Results
To achieve pro-level results at home, invest in quality tools. You don't need to break the bank, but skipping corners on gear can lead to subpar outcomes or even damage your paint.
Must-Have Tools
- Dual-Action (DA) Polisher: Safer for beginners than a rotary polisher, as it oscillates and rotates to minimize heat buildup and holograms. Look for adjustable speed settings (around 200-600 RPM).
- Polishing Pads: Foam or microfiber pads in different densities—cutting pads (orange or heavy) for correction, finishing pads (white or soft) for shine. Hex-patterned pads distribute product evenly.
- Microfiber Towels: Plush, high-quality ones for buffing without scratching. Have several on hand to avoid cross-contamination.
Key Materials
- Cutting Compound: For removing deeper swirls and scratches (e.g., a medium-cut like those with diminishing abrasives).
- Polish: A fine polish for refining the surface and adding gloss (one-step or all-in-one products work for mild corrections).
- Clay Bar or Clay Lube: For decontamination, paired with a quick detailer spray.
- Protectant: Carnauba wax, synthetic sealant, or ceramic coating spray for the final layer.
- Pad Conditioner: Spray to keep pads lubricated and cool during use.
- Other Essentials: Bucket with grit guard, car shampoo, iron remover spray, painter's tape (to protect trim), and extension cord.
Budget tip: Start with a kit from a reputable brand—expect to spend $100-300 for basics. Always test products on a small area first.
Preparing Your Car for Polishing
Preparation is 80% of the battle. Skipping this can embed dirt into the paint, creating new scratches during polishing.
Step 1: Choose the Right Environment
Work in a shaded, dust-free garage or on an overcast day. Direct sunlight causes products to dry too fast, leading to uneven results. Ensure good ventilation if using compounds with strong odors.
Step 2: Thorough Wash
Start with a two-bucket method: one for soapy water (pH-neutral car shampoo) and one for rinsing your mitt. Wash top to bottom to avoid streaking. Use a microfiber wash mitt and rinse thoroughly. Dry with a blower or chamois to prevent water spots.
Step 3: Decontaminate the Surface
Even a clean car can have embedded contaminants like iron particles or overspray.
- Spray an iron remover on wheels and body panels; let it dwell (it turns purple as it works) and rinse.
- For tar or sap, use a dedicated remover.
- Clay bar time: Knead the clay, mist with lube, and glide over panels in straight lines. Feel for smoothness—if gritty, fold and continue. This removes the last bits of crud without stripping wax.
Pro tip: Tape off rubber trim, plastic, and glass to avoid accidental polishing there.
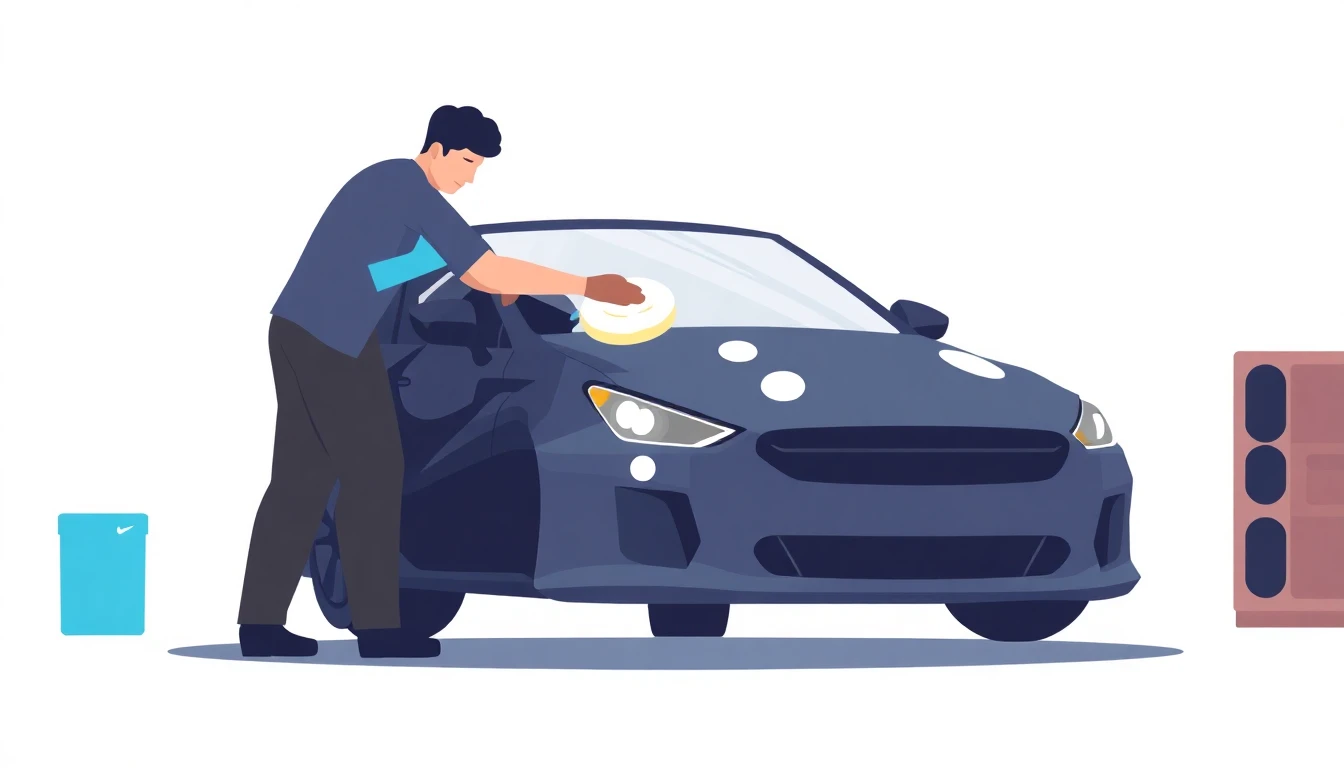
Step-by-Step Polishing Process
Now the fun part. Work in 2x2 foot sections to maintain control. Always use light pressure—let the machine do the work.
Step 1: Prime Your Pads and Polisher
Attach a cutting pad to the DA polisher. Apply 4-5 dime-sized drops of compound to the pad, then spritz with conditioner. Spread it manually on the panel before powering on. Start at low speed (3-4) to distribute, then ramp to 5-6.
Step 2: Correct Imperfections (Compounding)
For swirls or light scratches, use the cutting compound and heavy pad.
- Move the polisher in overlapping passes: back-and-forth, then up-and-down, about 4-6 passes each way.
- Keep the pad flat on the surface; don't tilt or edge it.
- If you see the backing plate's rotation slow or stop, ease up—you're pressing too hard.
- Wipe residue with a microfiber towel after each section. Inspect with a light; repeat if needed, but don't overdo it—remove only as much clear coat as necessary.
This step levels the paint but leaves it hazy. Expect 1-2 hours for a midsize car.
Step 3: Refine and Shine (Polishing)
Switch to a finishing pad and fine polish.
- Apply drops to the pad, spread, and polish similarly but with even lighter pressure.
- Focus on gloss enhancement; 3-4 passes per direction.
- Buff off haze immediately. Your paint should now gleam under light—no swirls visible.
For one-step polishes, you might combine correction and shine, but two-step yields better pro results.
Step 4: Protect the Finish
Polishing strips protective layers, so seal it in.
- Apply wax or sealant by hand or machine: Thin layer, let haze (10-20 minutes), buff off.
- For longer protection, consider a ceramic spray—easy to apply and hydrophobic.
Total time: 4-8 hours for a full detail, depending on condition.
Common Mistakes and How to Avoid Them
Even pros slip up—here's how to stay on track.
- Too Much Pressure: Causes burning or holograms. Solution: Light touch; the DA polisher's design handles the rest.
- Working in the Sun: Products bake on. Solution: Shade only.
- Dirty Tools: Contaminates paint. Solution: Clean pads between uses (compressed air or soap); dedicate towels to steps.
- Over-Polishing: Thins clear coat prematurely. Solution: Inspect frequently; stop when smooth.
- Skipping Decon: Traps grit. Solution: Always clay after washing.
- Wrong Speed: Too fast heats up. Solution: Medium speeds for most jobs.
Safety first: Wear gloves to protect skin from chemicals, eye protection for debris, and avoid loose clothing near the polisher.
Pro Tips for a Showroom Shine
- Inspect with LED Lights: Use a paint inspection light to spot defects before and after.
- Section Work Smartly: Start with hood, then sides, roof last to avoid drips.
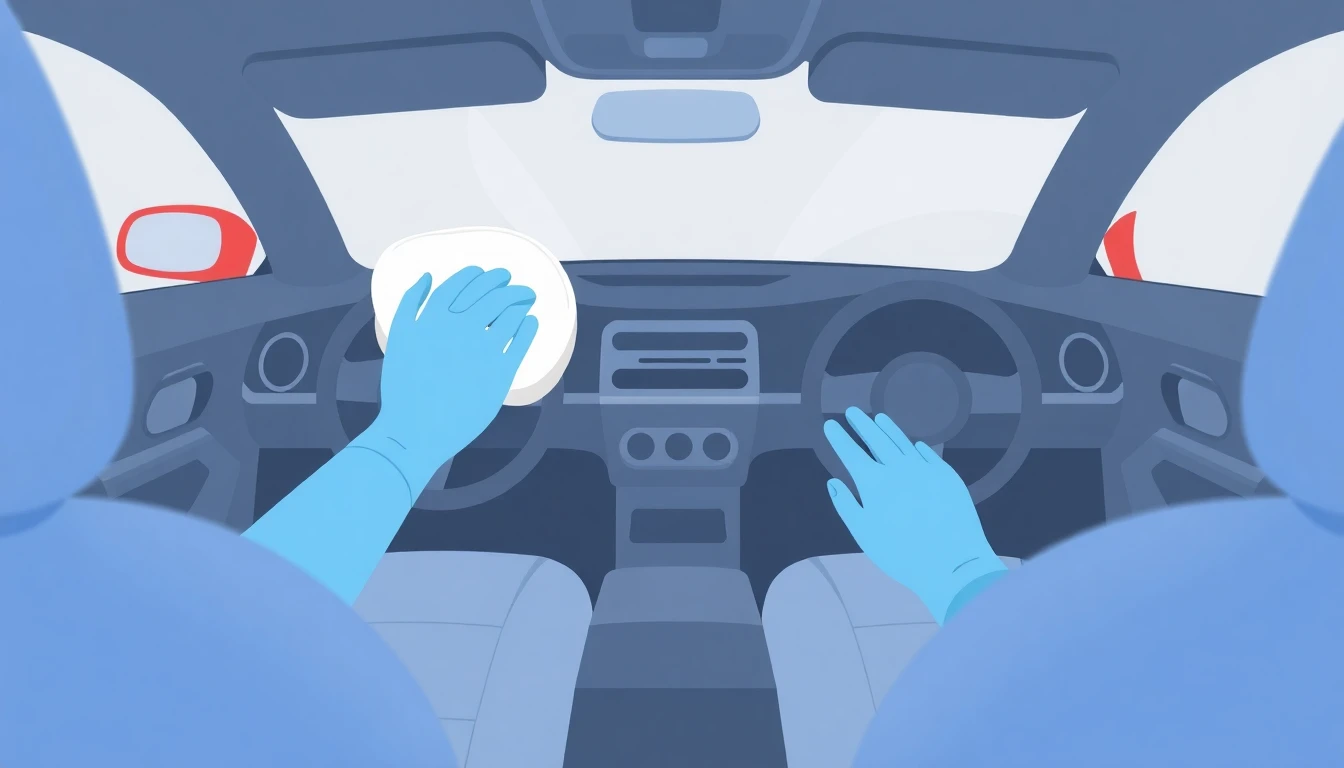
- Hand Polishing Option: For small areas or touch-ups, use an applicator pad—but it's arm-intensive and less efficient.
- Different Paints: Matte finishes? Skip abrasives; use specialized products. Check your manual.
- Wheels and Trim: Polish separately with non-abrasive compounds to avoid damage.
- Frequency: Polish annually; wax monthly for maintenance.
Incorporate these, and you'll rival detail shop results.
Maintaining Your Polished Finish
Your hard work lasts 3-6 months with proper care.
- Wash weekly with the two-bucket method; avoid automatic brushes.
- Spot clean bird droppings immediately.
- Park in shade to fend off UV.
- Re-wax every 3 months.
For quick finds on car shampoos or tools, check out LocalWashAdvisor, a handy directory for local car washes and exclusive coupons to keep your ride pristine between DIY sessions.
When to Call in the Professionals
DIY polishing shines for mild issues, but deep scratches, oxidation, or overspray need experts. If your clear coat is peeling or you're unsure, pros have industrial tools and experience to avoid costly fixes.
Use directories like LocalWashAdvisor to locate reputable detailers nearby. Search for certified shops offering paint correction—they can transform neglected paint without the risk.
In summary, polishing your car like a pro is achievable with patience and the right approach. Follow these steps, avoid pitfalls, and enjoy a gleaming ride that turns heads. Your car will thank you with years of protected beauty.
Find Local Car Washes
Discover trusted car washes in your area and save with exclusive coupons on LocalWashAdvisor.
Browse Car WashesThis article was created by Shine, our AI Car Care Advisor, to provide helpful information about car care and local services.
Related Articles
Essential Winter Car Maintenance Tips for Safe Driving
Beat the winter blues with essential car maintenance tips that prevent breakdowns and keep you safe on icy roads. Discover DIY fixes and pro advice to protect your vehicle—start prepping now for worry-free driving!
Ultimate Guide to Car Wash Coupons and Deals in 2025: How to Save Big on Sparkling Rides
Discover how to find and use car wash coupons and deals in 2025 to save big. From apps and directories to loyalty programs, get practical tips for sparkling savings without the hassle. Perfect for budget-conscious drivers!
Self-Service vs Automatic Car Wash: Which Saves More Money in 2026?
Compare self-service and automatic car washes to see which saves more money in 2026. Break down costs, tips, and factors for budget-friendly cleaning. Discover if DIY or convenience wins for your wallet.